Entry 22- Protagonist
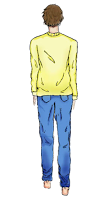
Today I went back onto the working of my protagonist. Since I already drew the back side of my protagonist, I just hand to move his legs and arms. From the basic knowledge that I had, I knew that an object would appear shorter or smaller when the distance is further away, hence the reason why I thought of the idea of shortening the leg and the arms, instead of drawing them all over again.
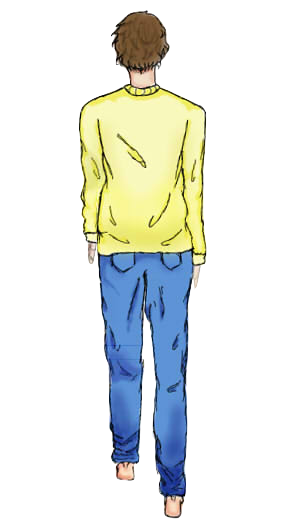
When I opened my document for the back side of my protagonist, I realised that I didn't save properly, which lead to me having the bottom of the protagonist uncoloured. However, I had a screenshot of my finished product to put on my blog, so instead, I transferred that screenshot into a 1600 x 1300 document. I then selected the protagonists leg, from the knee to the base with the selection tool, and used the transform tool to shorten it by 0.5cm. I then used the airbrush tool to make the knee area slightly darker, after using the eyedropper tool to get the darker blue tone I used for the jeans shading. This effectively made it seem as if the knee actually went up. I repeated this step on the same side of the arm, but this time, I selected from the elbow to the hand. I then got the shading colour for the clothes using the eyedropper tool and then shaded the elbow area. I saved the document as a JPG file and named it man 1. I repeated these 2 steps 3 times.I then opened up a new document and transferred the same screenshot into it. I repeated the steps that I did before for the other side of my protagonist.


From the previous document of failure; the one that I did not save properly, I made turned off the colour layer, making only the line art remain. I then shaded it with lines as per usual. After that, I repeated the same steps that I used for my coloured one, but this time, for the shading, I used the line shading method.


That's all that I've done this lesson.

Comments
Post a Comment